Jingle bells are ringing once again, and this time around, you need to check your wallet to hear them again and again. At Seams For Dreams, we are here to share you some tips on how you can make your very own fabric wallets and give them to your friends, family and loved ones as gifts, this holiday season.
Here are the easy steps that will guide you in making your very own fabric wallets:
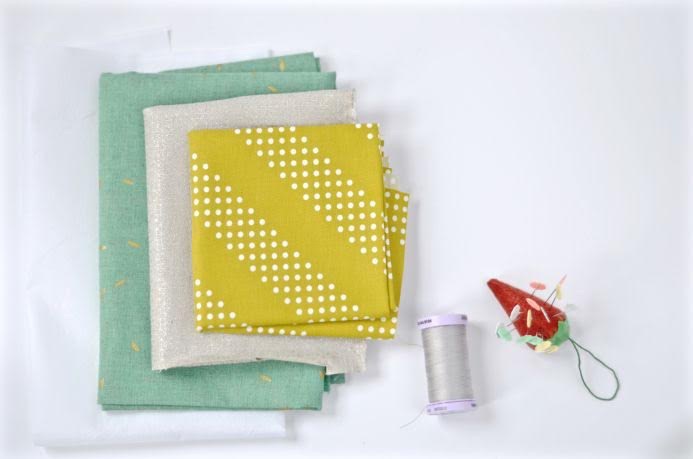
1. A piece of fabric at least 19”x10″ buttons
2. Pellon decor bond or similar heavyweight fusible or sew-in interfacing
3. Dressmaker’s chalk or disappearing ink pen
4. Thread to match fabric.
1. Start by cutting out 2 pieces of fabric. Each piece should measure 6″x 9″. Also cut a piece of interfacing the same size. You can use the template below as a guide – the box is the button placement line.
2. Fuse the interfacing to one piece of the fabric (the one you plan to use for the outside of the wallet), taking care not to fuse it to the wrong side of the fabric and follow the manufacturer’s directions for fusing.
3. Transfer the fold marks from the template to the back of the fabric using dressmakers chalk. On this pattern, the fold marks are 1.5″ in from the end of the fabric.
4. With the template as a guide, transfer the button placement markings to your fabric using a chalk pencil or disappearing ink.
5. Attach the buttons to both pieces of fabric. On the fabric with the interfacing attached, place the Velcro 1″ in from the short edge. On the other piece of fabric, attach the other piece of Velcro 1/4″ in from the short edge as shown.
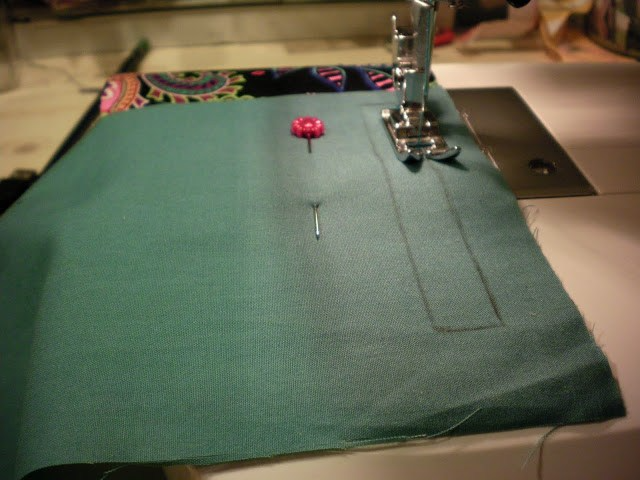
6. Pin the button in place and stitch close to the edge. Here’s a good tip – It’s a good idea to stitch around the button twice to ensure a strong seam. Be sure to back stitch at the beginning and end of all your seams.
7. Place the front and back fabric pieces RIGHT sides together. Make sure that the button placement is on the opposite side of each piece of fabric. So on the wallet outside piece it will be on one end and on the wallet lining piece it will be on the opposite end.
8. Pin and sew front and back together. Leave an opening on one of the short ends of the wallet pieces for turning. Be sure to back stitch at the beginning and end of all your seams.
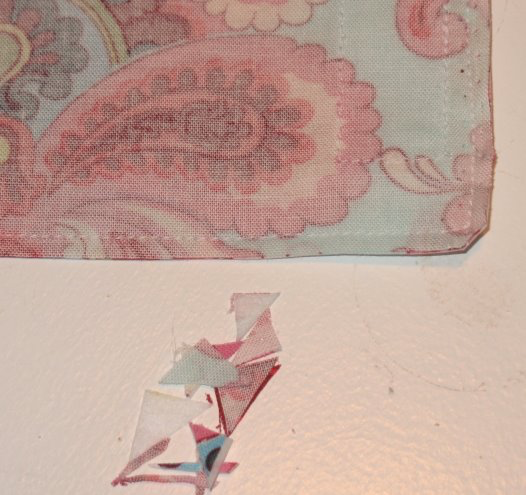
9. Clip corners and seams taking care not to clip into the stitching line.
10. Turn wallet right side out using a turning tool to push out the corners.
11. Fold the opening under 1/4 ” and press. Pin or baste in place, then stitch close this opening using a 1/8″ seam. Another tip – use an edge stitch foot if you have one as this will make maintaining an even seam allowance a bit easier.
12. Fold the wallet up at the turning mark (use the paper template as a guide) and pin in place. Sew a 1/8″ seam all the way around the wallet including the flap. This both encloses the body of the wallet and finishes the edge nicely.

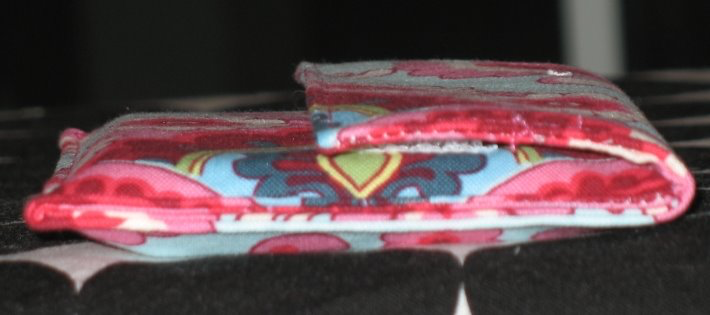
13. Fold it closed and voila! You are done. Fill with business cards, ID, credits cards, sundries with small messages of tidings and cheers for your loved ones this Christmas. This card wallet will hold up to 20 or more (depending on how much you want to stuff in
there) thick
plastic credit cards.
Now go along, and make these for the ones you love and surprise them with your hidden talents this Christmas!