Hi everyone, hope you all are doing great. It’s a lovely Wednesday and that calls for a quick DIY. Today, let’s learn how to Ice Dye our old or boring clothes and revamp them into something extremely cool and fun.
Tie-dye had become the pattern of the pandemic, and somewhere it’s still relevant and synonymous with the WFH look. Apart from casuals and athleisure, tie-dye has paved its way into the runways and couture. Forecasters say, tie-dye is among the top five trends of 2021. It is definitely here to stay.
Ice dying is one of the techniques of tie-dying and it’s subtler, less messy and looks very cool.
So let’s begin with our DIY!
MATERIALS
- Soda Ash or Synthrapol
- Procion Dye. Any color works, but pastel and lighter shades give better results.
- Bag of Ice
- White linen fabric or any t-shirt or old clothes.
- Dish rack
- Washtub
- Glass Measuring Cup
- Plastic gloves
- Metal or Steel spoon ( using metal to avoid the spoon absorbing dye)
DIRECTIONS
- Mix 1 cup of soda ash to 1 gallon/ 4 litres of water in the wash tub and mix until completely dissolved
- Soak your cloth for 15 minutes into the tub so that it completely absorbs the soda. soda ash acts as an important fixer for the dye and helps activate the color with the natural fibers of your fabric.
- Then squeeze the water out of the fabric and completely wring it. Place the cloth to fit completely on your drying rack. Add as many twists or turns as you’d like according to the design you desire.
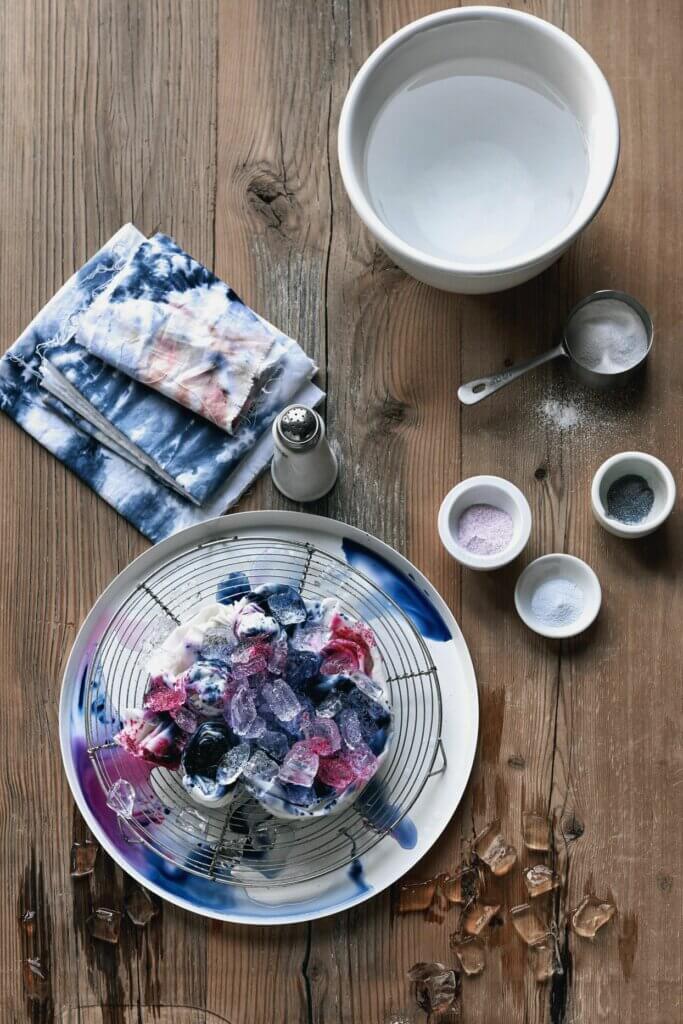
- Now put ice on top of the cloth and completely cover your piece of fabric with ice.
- Using a spoon, sprinkle dye powder on the ice. Keep going until you’ve completely covered the surface of the ice with your dye powder but don’t do it hastily. Start off slow.Here’s where you could add an additional color for more of a tie-dye effect.
- Allow to sit for 24 hours. If you want the colors to be more pastel and less saturated, you can reduce the amount of time that the dye sits on the fabric and rinse sooner.
- Take the cloth out of the tub
- Rinse in cold water until water runs clear
- Wash in the washing machine like you usually do

There you’re ready with a totally revamped look of your old fabric.

If you give it a try, do a story on Instagram and don’t forget to tag us 🙂 @seamsfordreams